Build the Facilitator Interface
Let's build the interface that the facilitators of your simulation will use.
Create the UI pages
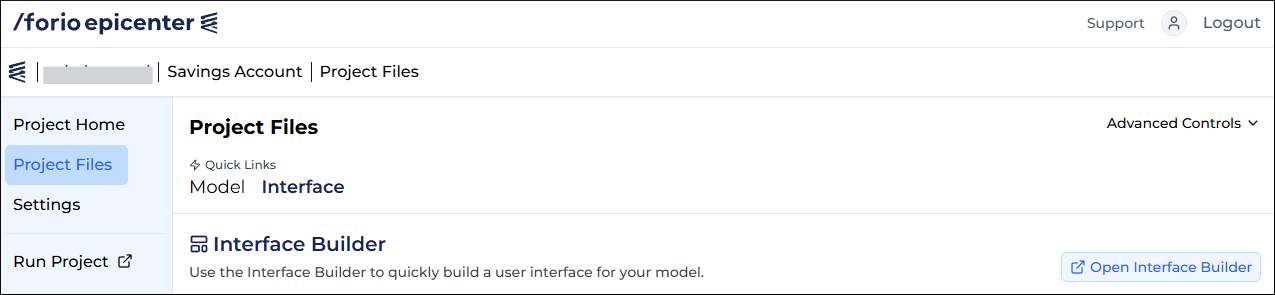
- On the Project Files page, under Quick Links, click Interface.
- On the right, click Open Interface Builder.
- In the top-left corner of the page, click Facilitator Interface in the drop-down menu.

- Update the project title as described in Edit header and footer.
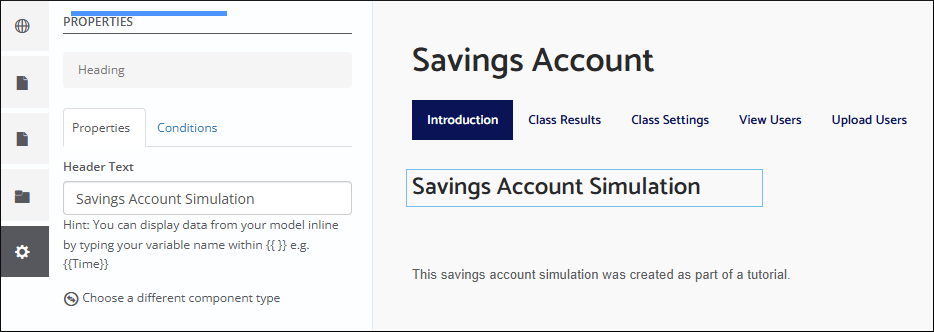
Introduction page
The Introduction page opens first.
To edit the page:
- Click an editable component in the middle of the page. The Properties pane opens on the left.
- Edit the properties of the component.
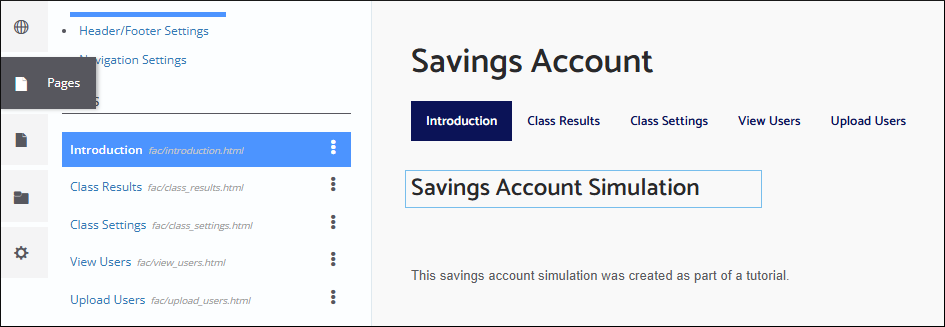
To navigate to other pages, you can click the page names at the top or:
- Hover your mouse over the pane selector on the left.
- Click Pages.
- Click the page you want to view.
Class Results page
Let's create a screen for a facilitator to view the results of the model runs.
- Open the Class Results page.
- Click the table component. The Properties pane opens on the left.
- Name the column "Account Balance".
- In the Variable drop-down, select Balance(till Current Step).
- In the Number Format drop-down, select Currency.

Remove the Class Settings page
We will not need to edit class settings for this simulation.
- Hover your mouse over the pane selector on the left.
- Click Pages. The Pages pane opens.
- In the Pages pane, click the three-dot icon of the Class Settings page.

- Click Delete.
- In the confirmation pop-up, click Confirm.
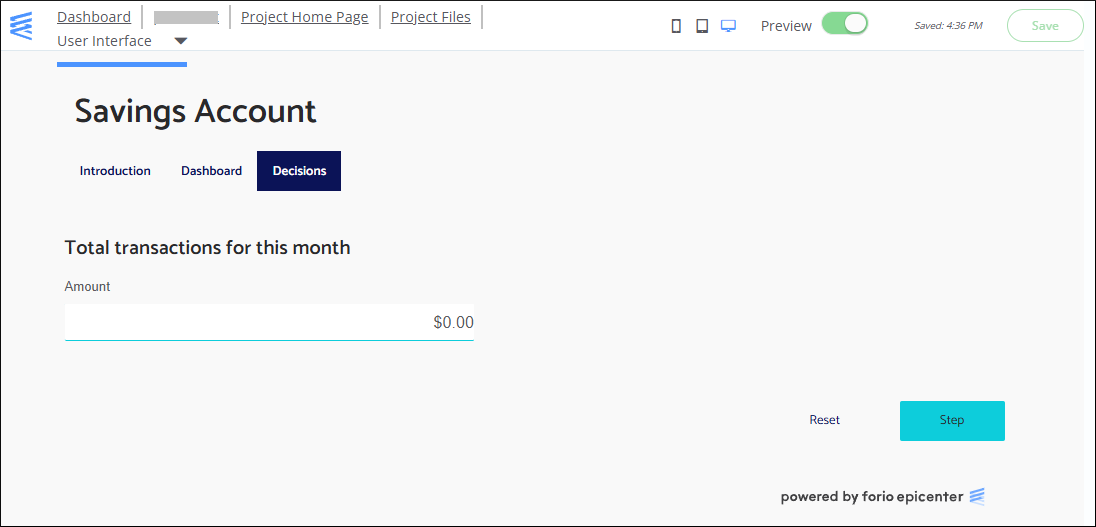
Save and preview
To save your app, click Save in the upper-right corner of the Interface Builder.
While working in the Interface Builder, you can always preview your app. To switch to preview mode, toggle Preview at the top of the page.
To preview your simulation UI for different screen formats, use the device selector to the left of the Preview toggle.