Team Projects
A team project is where you and other admins on your team manage an Epicenter application.
As an admin, you can create multiple projects in Epicenter.
To learn more about team projects, read this guide.
Access your projects
- Log in to Epicenter.
- On the organization's home page, view the project list or tiles under Team Projects.
Create a project
To create a team project:
- On your organization's home page, click + Create new project.

- Enter a descriptive name for the project.
- Optionally, you can edit the Project ID. This identifier is also known as the project short name. It becomes a part of your project's URL.
- Select the project's access level.

- Click Create Project.
After you have created a project, upload your model and interface files.
Add users
To allow users to log into your application, create workshops within your team project and add users to the workshop.
Multiplayer projects
If your model is designed for a group or a team activity, create a multiplayer project.
Roles
Multiplayer projects introduce the concept of a role. Each participant is assigned a role within the group. The role defines the participant's goals and actions.
To learn how to define roles, read Multiplayer settings.
Worlds
A group or a team of participants assigned to roles to play a game comprises a world.
Adjust project settings
- Open a project.
- In the left-hand navigation panel, click Settings.
- Edit the project's display name and access settings.
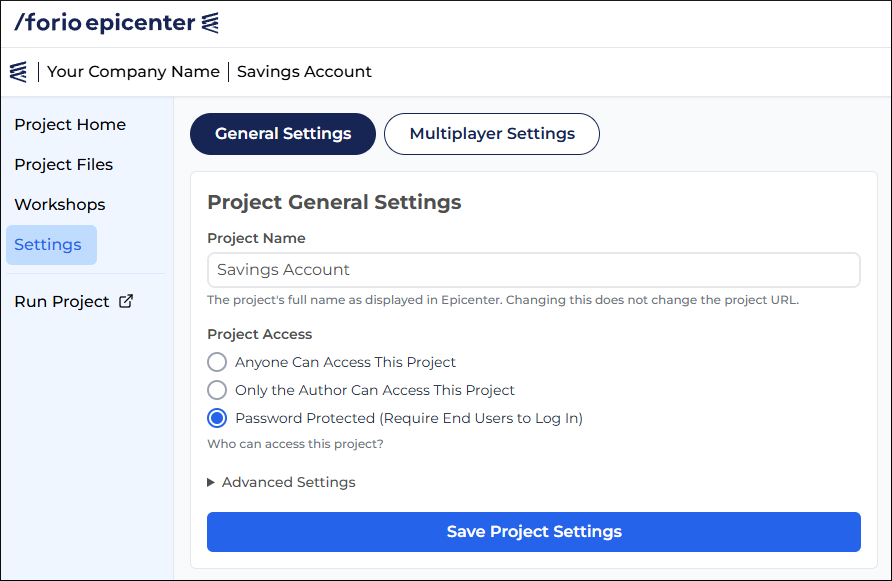
- For more granular setting adjustments, expand Advanced Settings.
- Click Save Project Settings.
Multiplayer settings
To enable the multiplayer mode for your project:
- Open the project's Settings page.
- Click Multiplayer Settings.
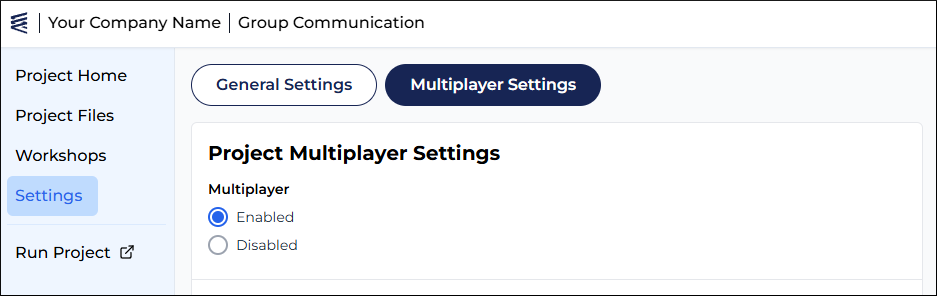
- Select Enabled.
- Scroll down and click Save Multiplayer Settings.
Define roles
To define roles for your multiplayer project:
- Enable multiplayer.
- At the bottom of the Roles section, click + Add Role.
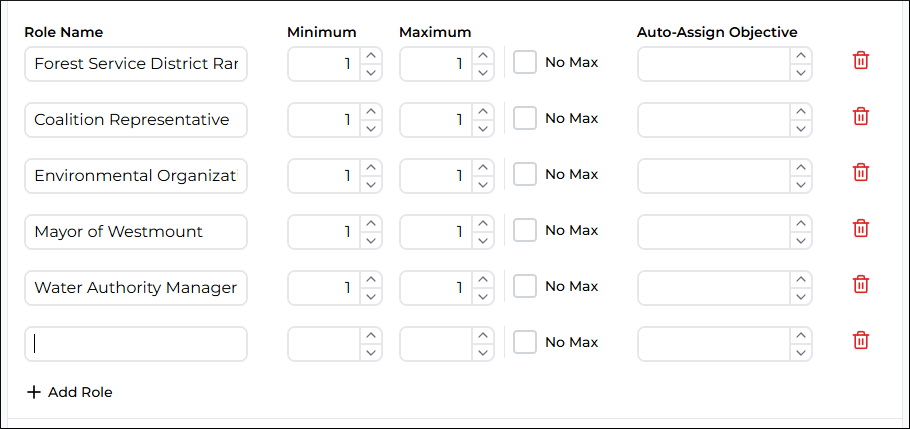
- Enter the role name.
- Configure the role:
- Minimum is the number of participants in this role required for the group to play the game. To make the role optional, enter 0.
- Maximum is the highest number of participants that can play this role in a single game. If there is no limit, check No Max.
- Auto-Assign Objective is used for automatic role assignment. This number defines how many participants must fill the role before a world is complete.
- Scroll down and click Save Multiplayer Settings.
Configure multiplayer mode
Here you can:
- To allow users to select their own role, enable self-assignment.
- To enable an admin to manually assign roles, ensure that Show assignments UI is selected.
- Configure the Multiplayer Assignments page.
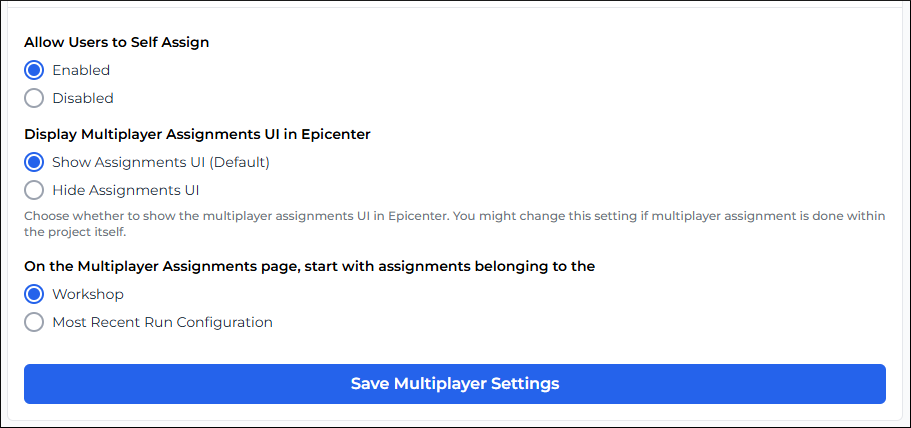
If your project uses run configurations, you must configure the Multiplayer Assignments page to start with assignments belonging to the most recent run configuration.
Delete your project
To delete a project:
- Open the project's Settings page.
- Expand Advanced Settings.
- Scroll all the way down.
- Click the red Delete This Project link.

- In the red dialog box, type "Delete".

- Click Delete to confirm.