Build the User Interface
Now let's build the UI pages that the participants will use to play your simulation.
Create the UI pages
To create the user pages, ensure that User Interface is selected in the drop-down menu at the top left.
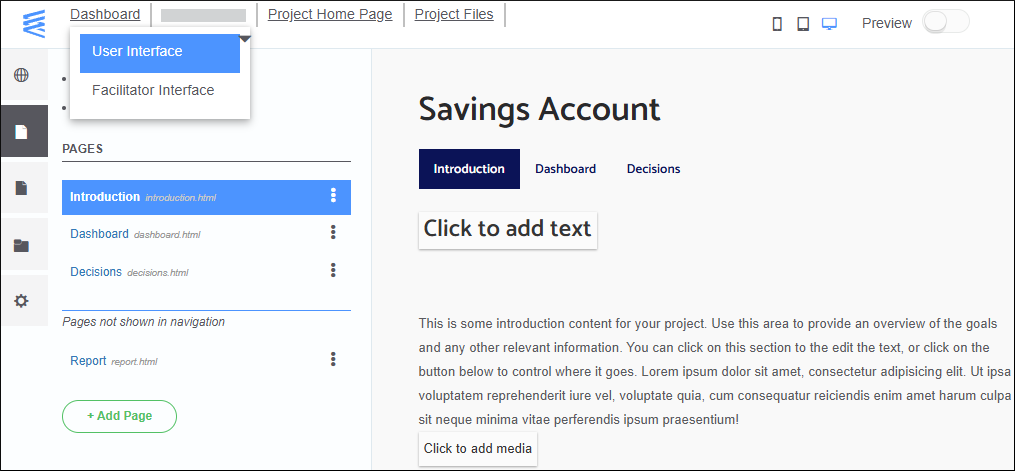
To navigate between the pages, use the panel on the left or the page titles at the top under the project title.
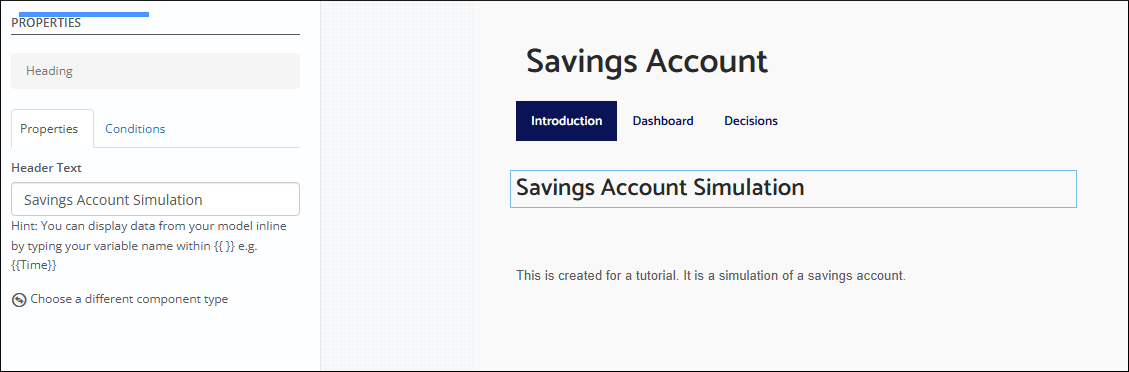
The intro page
To edit the page:
- Click an editable component in the middle of the page. The Properties pane opens on the left.
- Edit the properties of the component.
To display variable values from the model in the app UI, use the following notation:
- To display a single-value variable, such as the current step:
{{Step}}. - To display an array element, like the account balance at the current step:
{{Balance[<Step>]}}.
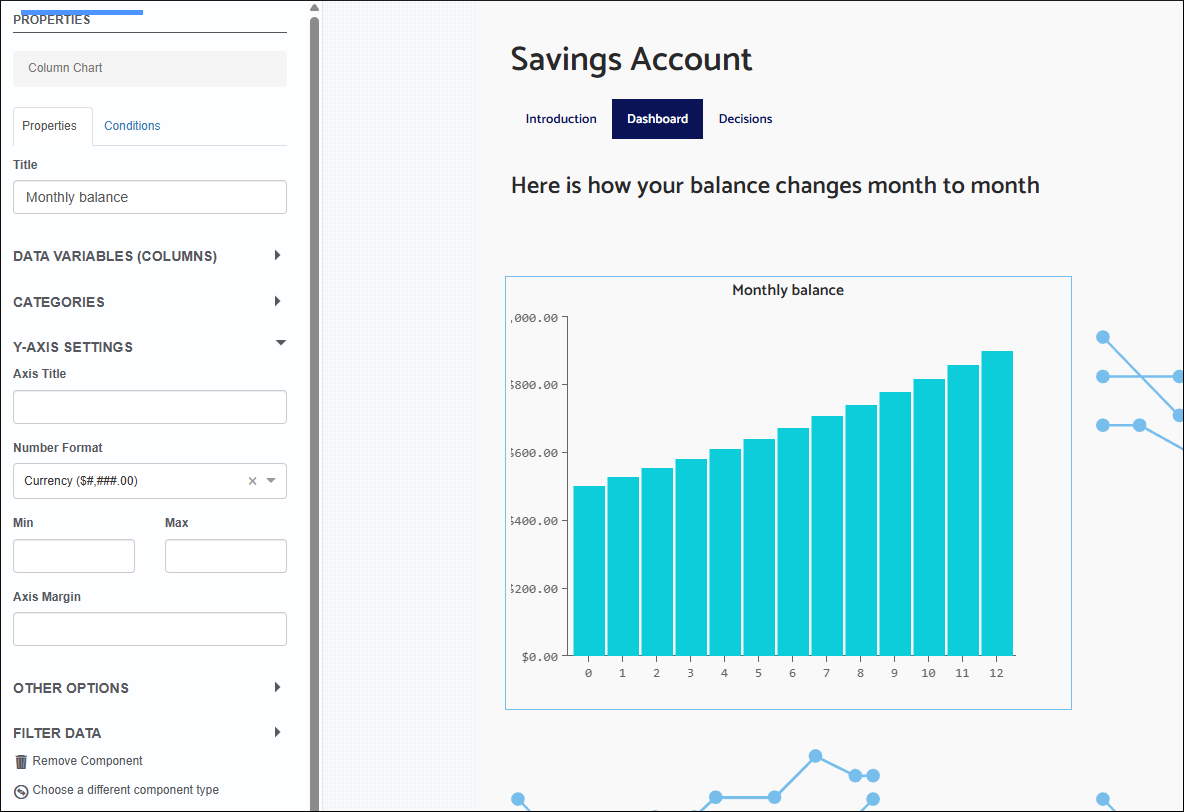
Dashboard
Let's add a graph to display how the account balance changes month to month.
- Select the Dashboard page.
- At the top, enter a header text for the page.
- Click one of the chart containers on the dashboard page.
- On the left, select Column Chart.
- On the left, enter a chart title.
- Expand Data Variables and select the Balance (Full Range) variable.
- Expand Categories and select the Time (Full Range) variable.
- Optionally, expand Y-Axis Settings and select the Currency number format.
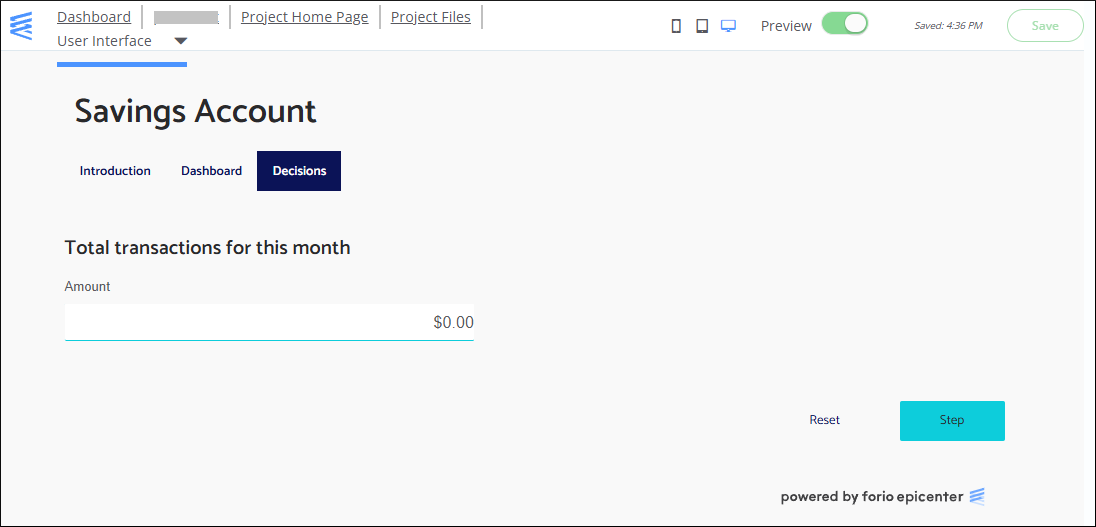
Decisions
Decisions are the actions the simulation participants take between steps.
In our example, the participant will deposit or withdraw money from the savings account. For simplicity, we create a control to enter the total amount of the transactions for the current month.
- On the Decisions page, click one of the header controls.
- In the Header Text box on the left, enter "Total transactions for this month".
- Click one of the decision controls.
- In the Properties menu on the left, choose the Text Input type.
- Label the input "Amount".
- Select the variable transactionAmount[Current Step].
- Select the Currency number format.

- In the bottom-right corner of the design pane, select the Simulate button.
- In the Properties menu, update the button text to "Step".
- Select the Reset button.
- In the Operation drop-down on the left, select the Run: Reset operation.
Save and Preview
To save your app, click Save in the upper-right corner of the Interface Builder.
While working in the Interface Builder, you can always preview your app. To switch to preview mode, toggle Preview at the top of the page.
To preview your simulation UI for different screen formats, use the device selector to the left of the Preview toggle.
What's next?
In the next chapter of the tutorial, you create the interface for the simulation facilitators.