Manage your project files
To access your project files:
- Open your project.
- On the left, click Project Files.
To download all your project files in a zip archive:
- In the top-left, expand Advanced Controls.
- Click Download Entire Project.
To upload your entire project file structure:
- In the top-left, expand Advanced Controls.
- Click Upload and Unzip Entire Project.
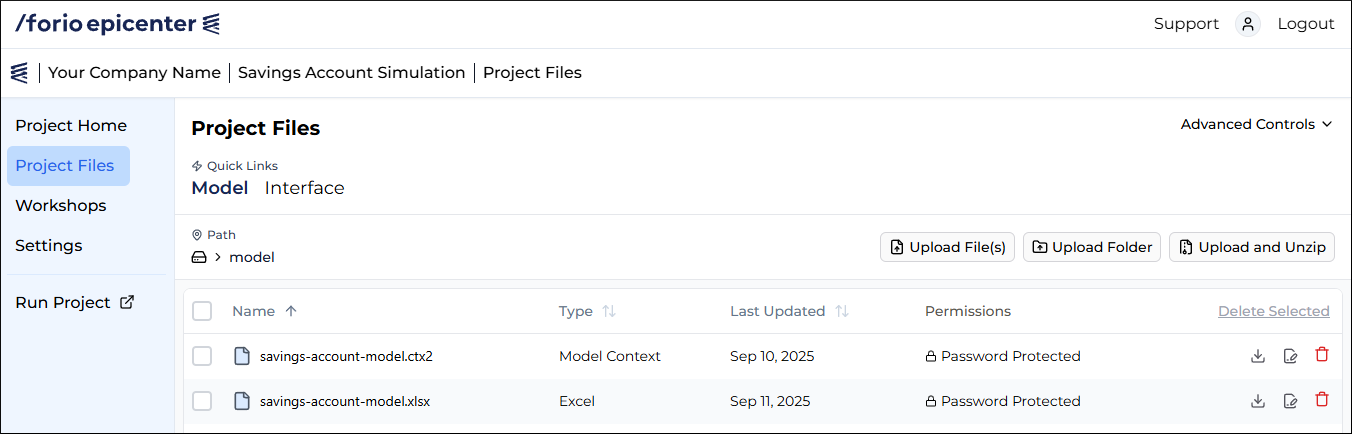
Model files
To upload and manage your model files:
- Open your project.
- On the left, click Project Files.
- Ensure Model is selected at the top under Quick Links.
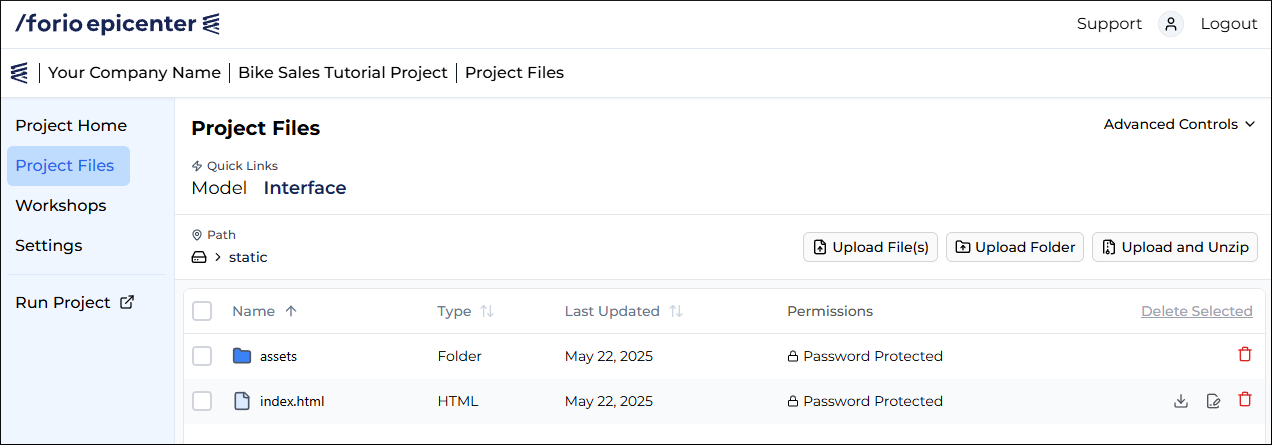
Interface files
To access the UI files for your simulation:
- Open the project in Epicenter.
- On the left, click Project Files.
- Ensure Interface is selected at the top under Quick Links.
Building the front end
You can build the front end for your application using our Interface Builder or the Epicenter JS libraries combined with React.
Follow this step-by-step tutorial to create a simple Epicenter app: Using the Interface Builder.
This guide describes two ways to manage your application UI in Epicenter.
Interface Builder
For models written in languages such as Venism, Powersim, STELLA, SimLang, and Excel, use the Interface Builder to create your front-end application.
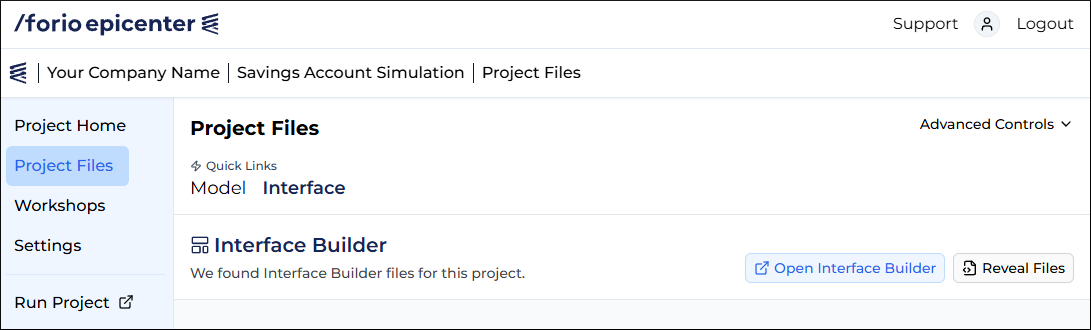
To view the files created by Interface Builder, click Reveal Files on the right.
To learn how to use Interface Builder, follow the Interface Builder tutorial.
Epicenter JS libraries
For models written in programming languages like Python, use the JS libraries with React to build your UI.
Then go to Project Files > Interface and upload your UI files.
To gain hands-on knowledge of the JS libraries, follow the Developer tutorial.